

Passover, also known as Pesach, begins at sundown on Saturday, April 12th, and ends at nightfall on Sunday, April 20th.
I just love eating matzoh. The crispiness and crunch get me every time.
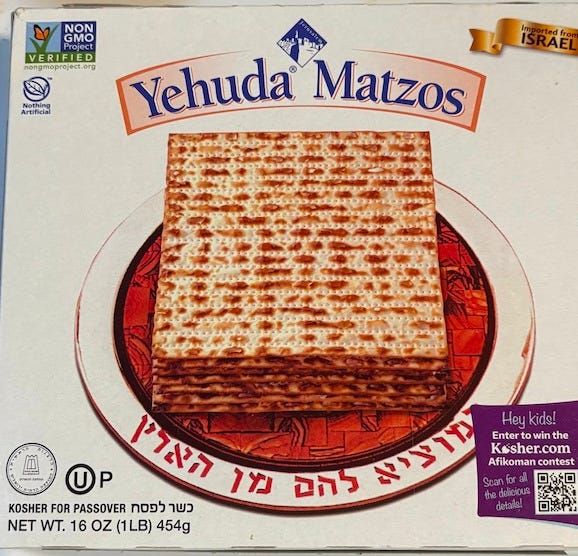
Commercially manufactured mazoh is square in shape and each piece bears lines of browned areas that look quite appealing. The mazohs are crisp and addictive. I like spreading them with some softened butter or peanut butter or just layering some sliced cheese on top. This is something I do today and have done for most of my life. I grew up eating matzoh, and it was always store bought.
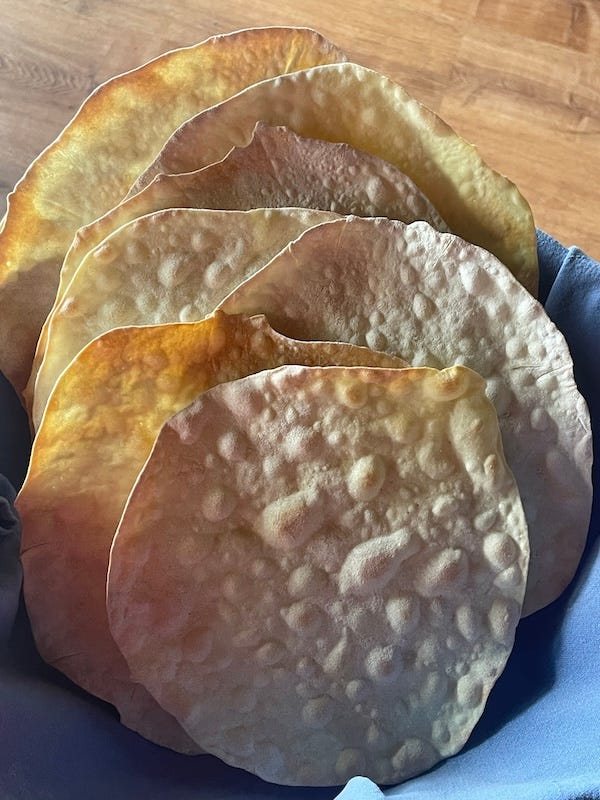
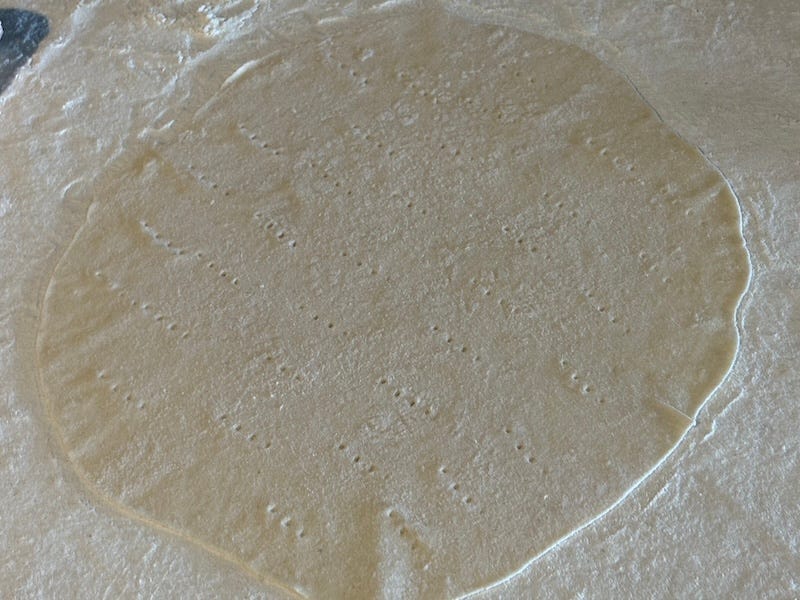
Homemade matzoh is an entirely different thing. The dough is rolled paper thin, docked with a fork, and slid onto a preheated baking stone in a 450˚F oven. In two to three minutes, you’ll get a puffy, bubbly homemade matzoh that becomes shatteringly crisp as it cools. One bite will hook you.
Here’s what home-baked mazoh looks like:
Where I Learned How to Make Matzoh
About twenty years ago, when I was seeking recipes for my cookbook, “A Baker’s Odyssey,”(Wiley, 2007) Cindy Klotz answered my call for help. I did not know that people actually made mazoh at home, but Cindy does it every year at passover. She makes batch after batch and works so fast she sometimes becomes a blur.
One thing about passover: Rabbinical law says that when flour and water meet, you have 18 minutes to get what you’re making into the oven before fermentation starts. When the Jews fled Egypt during their exodus from slavery, they had no time to bake. So any bread they ate had to be unleavened. Matzoh dough takes little time to make—it’s just flour and water—and it’s rolled so thin that it could bake quickly in the desert heat.
When I was growing up in Shanghai, and the youngest person at the seder, I was given the honor of having matzoh dough wrapped in cloth and strapped to my back to symbolize how matzoh was believed to have been baked during the long journey out of Egypt. Those seders lasted for hours, and all I wanted was some food.
Making Matzoh: The Steps
Move an oven rack to the lowest position and remove the second rack or place it in the highest position. Preheat the oven to 450˚F about 45 minutes before you actually roll out the first matzoh.
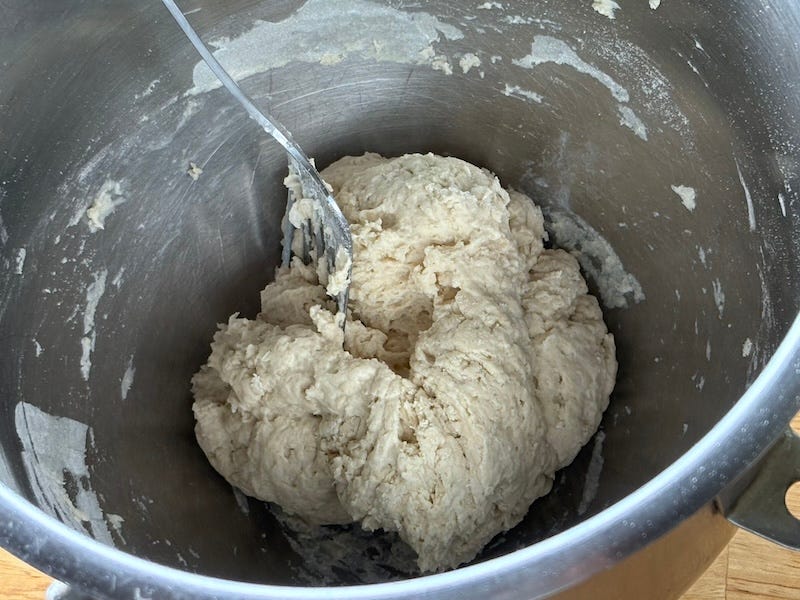
Mix flour and water together in a large bowl. Put 8 3/4 ounces (247 grams) of unbleached all-purpose flour into the bowl and, with a fork, gradually stir in 6 ounces (170 grams) of room temperature water to make a shaggy, slightly sticky lump of dough. Do not beat the dough. If you only have dry and liquid measuring cups, use the dip and sweep method to measure 1 3/4 cups flour and a glass measure for 3/4 cup water.

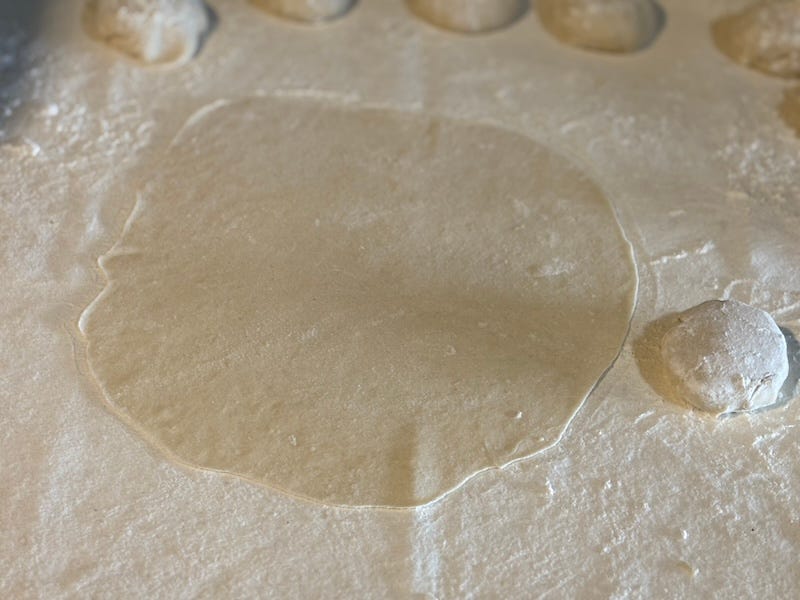
Transfer the dough round to a baker’s peel or rimless cookie sheet. To do that, working quickly, fold the dough in half, move it to your sliding surface, and unfold it so it’s a round again.
Slide the matzoh onto the baking stone, and bake for 2 to 3 minutes, sometimes a bit longer depending on your oven, until the matzoh is browned in spots, bubbly looking, with areas that are mostly clear. With tongs, transfer the matzoh to a cooling rack.
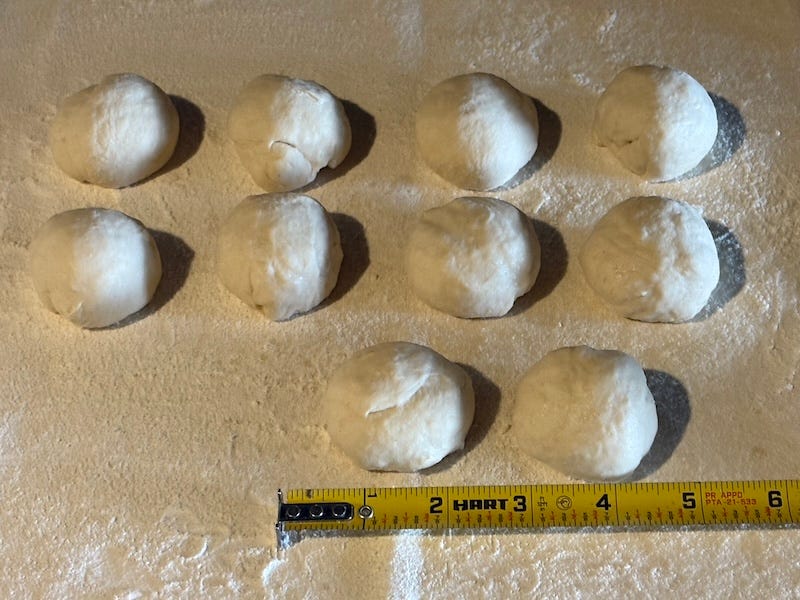
Repeat the rolling, pricking, and baking with the remaining matzoh balls.
Once you get a rhythm going, you can all the baking done in 30 to 40 minutes.
When completely cool, store the matzohs in a large ziptop bag where they’ll stay crisp for 4 to 5 days.
Have fun with this. This is a great recipe to make with kids. There’s no rushing around. And you’ll all have so much fun!
Yes! I had matzoh strapped to my back also, tied with silk scarves. My sister and I were admonished not to lean back, as doing so would crack the matzohs. I think it was my parent's way to keep us awake through a long seder conducted entirely in Hebrew, which we did not know. Not a great experience.
Those matzohs look fabulous! My dad's job was to bake them in the communal oven in Shanghai. He said it was so hot it singed the hair from his eyebrows and arms.
Happy Pesach to you and Dorothy! XO